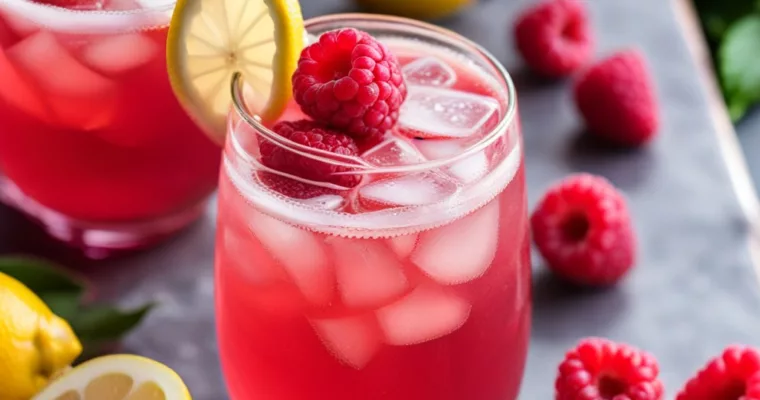
Sparkling Raspberry Lemonade Kombucha: A Refreshing Flavor Adventure
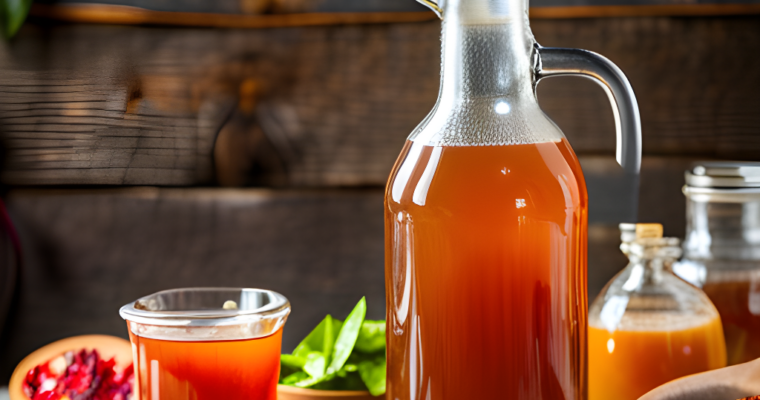
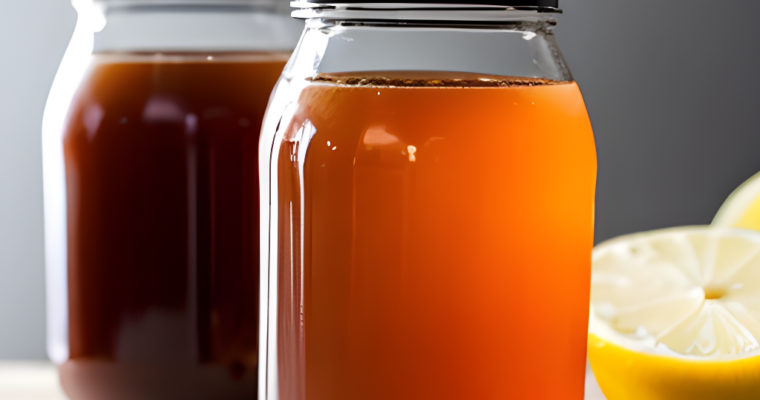
Introduction Kombucha is a canvas of endless flavor possibilities, and if you’re a Kombucha flavor explorer, you’re in for a treat! In this recipe, we’ll guide you through the process of creating Sparkling Raspberry Lemonade Kombucha—a flavor-packed concoction that balances the sweet-tartness of raspberries with…